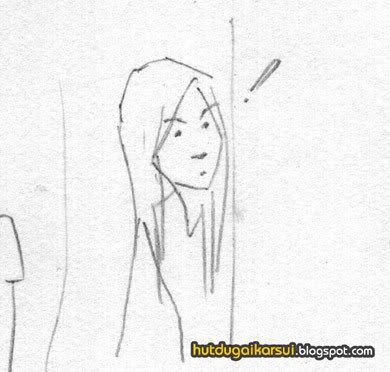
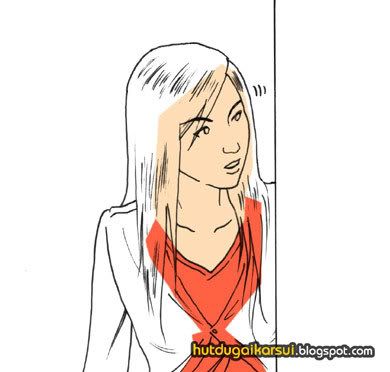
1) Nearly all my comics begin life as a sketch and giving some thought about the script as well. I was tempted to go the easy route and use one of my sketches from a previous comic to do this FAQ. But I've decided to do a new one-frame comic just for this FAQ. In this case, it's a lady observing something. Read on and you'll find out eventually what Ol' Dan has in mind.
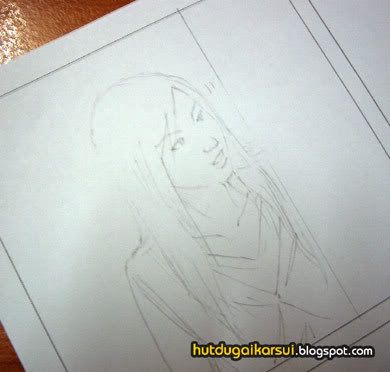
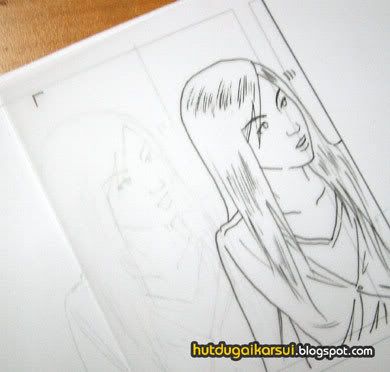
2) I normally print out square panels on A4 paper for drawing. This helps me to frame the subject and also gauge how much space I should leave for the dialogue. Based on the sketch, I then draw in pencil.
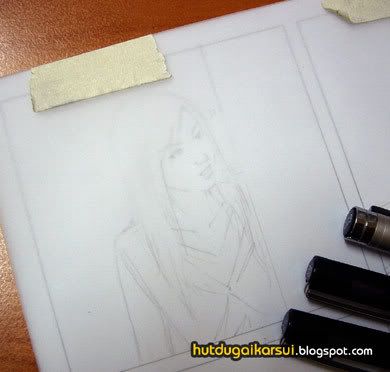
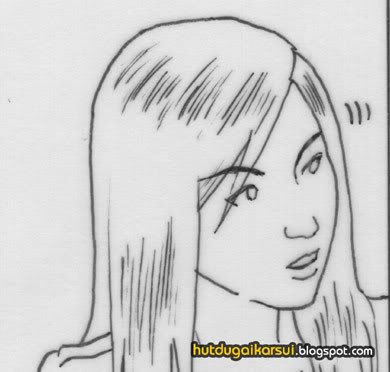
3) The pencil artwork serves as my 'master copy'. I then place tracing paper over it to trace it in ink.
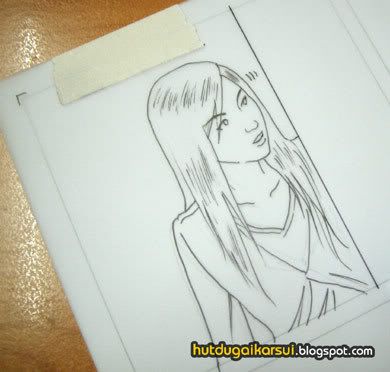
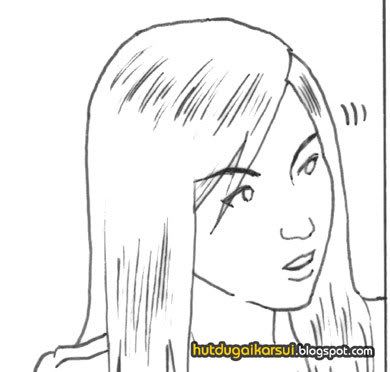
4) The tracing is done.
5) The traced artwork with the master copy.
6) The traced artwork is scanned (at 300dpi resolution so that I can also print my comics out) into Adobe Photoshop (one of my 'rice bowls'). As you can see above, the scanned image contains the texture of the tracing paper as well as dot specks captured from the surface of the scanner. It's time to 'clean up' the image.
7) Clean up done! Next, colouring.
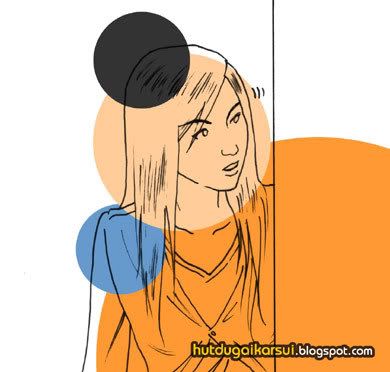
8) In Adobe Photoshop, I can have numerous layers in a single canvas. The artwork is always right on top with the other layers for different elements (skin colour, hair colour, etc) beneath it. In the artwork layer, I can specify white to become transparent by using one of the application's features, allowing other elements beneath the artwork to show. Each of the coloured circle above represents a layer.
9) Filling in colours for different elements of the subject, e.g. face colour, clothing colour, etc .
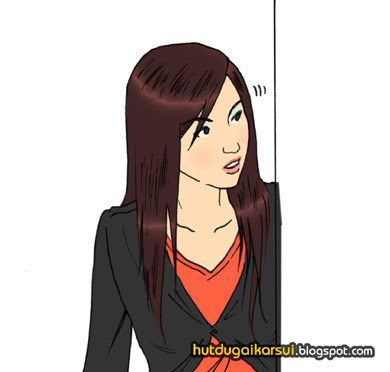
10) There, 'Nice Girl' is all dolled-up.
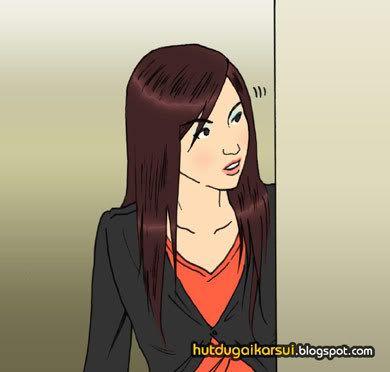
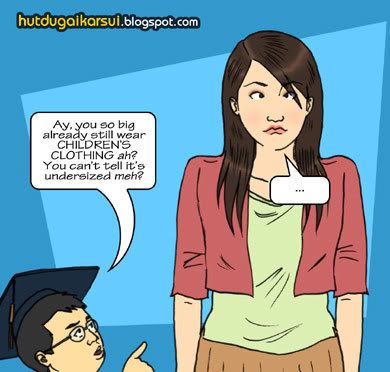
11) The background is coloured last. Next comes the final bit of producing a web comic, adding the dialogue and 'word balloons'. Now we shall find out what 'Nice Girl' is up to ;-)
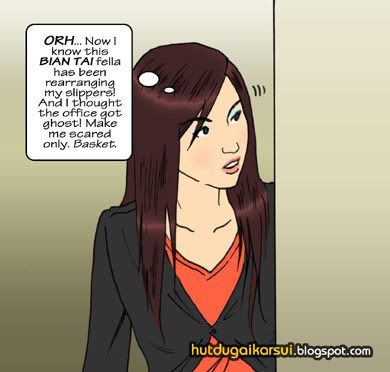
ORH...
And here's a bonus comic for reading all the way to the end:
And for new readers who might be wondering what "Hutdugaikarsui" means, be sure to click the 'FAQ' tag below for the previous FAQ.
:)
10 comments:
made me realise how much work actually goes into each comic. :)
it'd be good if you could briefly summarise how you used each Photoshop tool, e.g. to clean up, add colours, as insights for the budding artist out there.
Thanks!
Thanks for the FAQ.
There is more work then I thought :P
the colouring part seems to be the hardest. ur colouring is really neat =D
I will be curious to find out the functions you had used in Photoshop and how much time you need to produce such fine works too :)
All along I thought you had been using Illustrator instead :)
But I guess you cannot reveal too much too if it concerns your ricebowl, maybe just a tip or two, haha :P
Nice piece of work, it's really not easy to do a nice looking artwork (including coloring, drawing, etc).
By the way, check out our site: http://comiqs.com it lets anyone without the drawing skills to do a comics strip using their photos and a bit of creativity. Do let me know what you guys think about it! :)
That's very nice. Keep up the good work!
Thanks for sharing how you draw your comics... It all starts with the images in your head and requires talent to sketch and draw it out in freehand!
Kudos and bouquets! :-)
Wow, really a lot of work goes into them. Must have a lot of passion to keep on doing them. Jia you!
wow, i think the coloring part must be the hardest. now i know why you take so long to produce one comic :)
juliet
hey hainam koh, du nagu ooih
Post a Comment